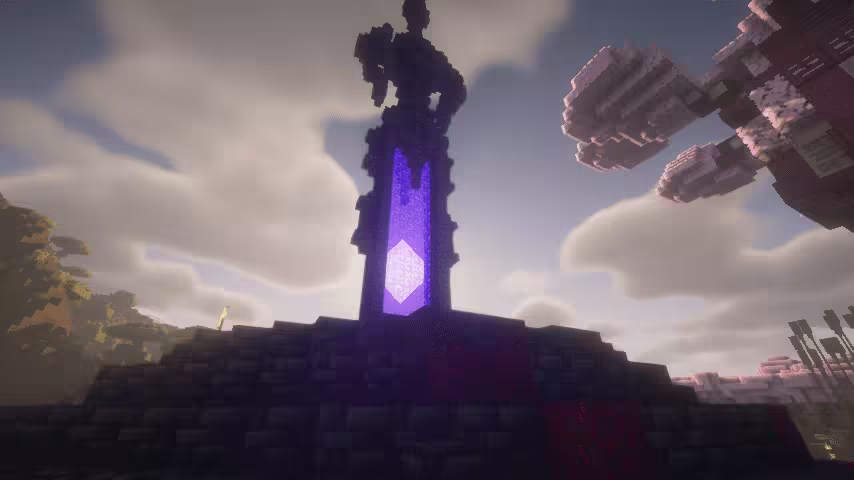
Shaders are custom graphics settings that add stunning visual effects to Minecraft. They transform the game’s look with realistic lighting, shadows, and textures. With shaders, your Minecraft world can look as breathtaking as you’ve always imagined.
How to Install Shaders in Minecraft
Follow these simple steps to add shaders to your Minecraft game:
Step 1: Install OptiFine
OptiFine is a mod that enhances Minecraft’s graphics and performance. It’s also necessary for most shaders to work. Here’s how to install it:
– Download OptiFine: First, you need to download OptiFine. (We will cover how to download mods in a separate post.)
Step 2: Download Shaders
Before you can add shaders, you need to download a shader pack. (Stay tuned for our guide on how to download shaders!)
Step 3: Add Shaders to Minecraft
- Open Minecraft Launcher: Start your Minecraft launcher and select the OptiFine profile.
- Open Minecraft and Go to Options:
– Click on “Options”.
– Select “Video Settings”.
– Click on “Shaders”.
Open Shader Folder:
– In the Shaders menu, click on “Shaders Folder”. This will open a folder on your computer.Add Your Shader Pack:
– Move the downloaded shader pack (a .zip file) into the Shaders folder.Select Your Shader Pack:
– Go back to Minecraft.
– In the Shaders menu, you should now see your shader pack listed.
– Click on the shader pack to select it.Apply and Enjoy:
– Click “Done” to apply the shader pack.
– Start your game and enjoy the enhanced graphics!
Troubleshooting Tips
- Ensure Compatibility: Make sure the shader pack is compatible with your version of Minecraft and OptiFine.
- Performance Issues: Some shader packs can be demanding on your system. If you experience lag, try lowering your video settings or choose a lighter shader pack.
- Update Drivers: Ensure your graphics drivers are up to date for the best performance.


